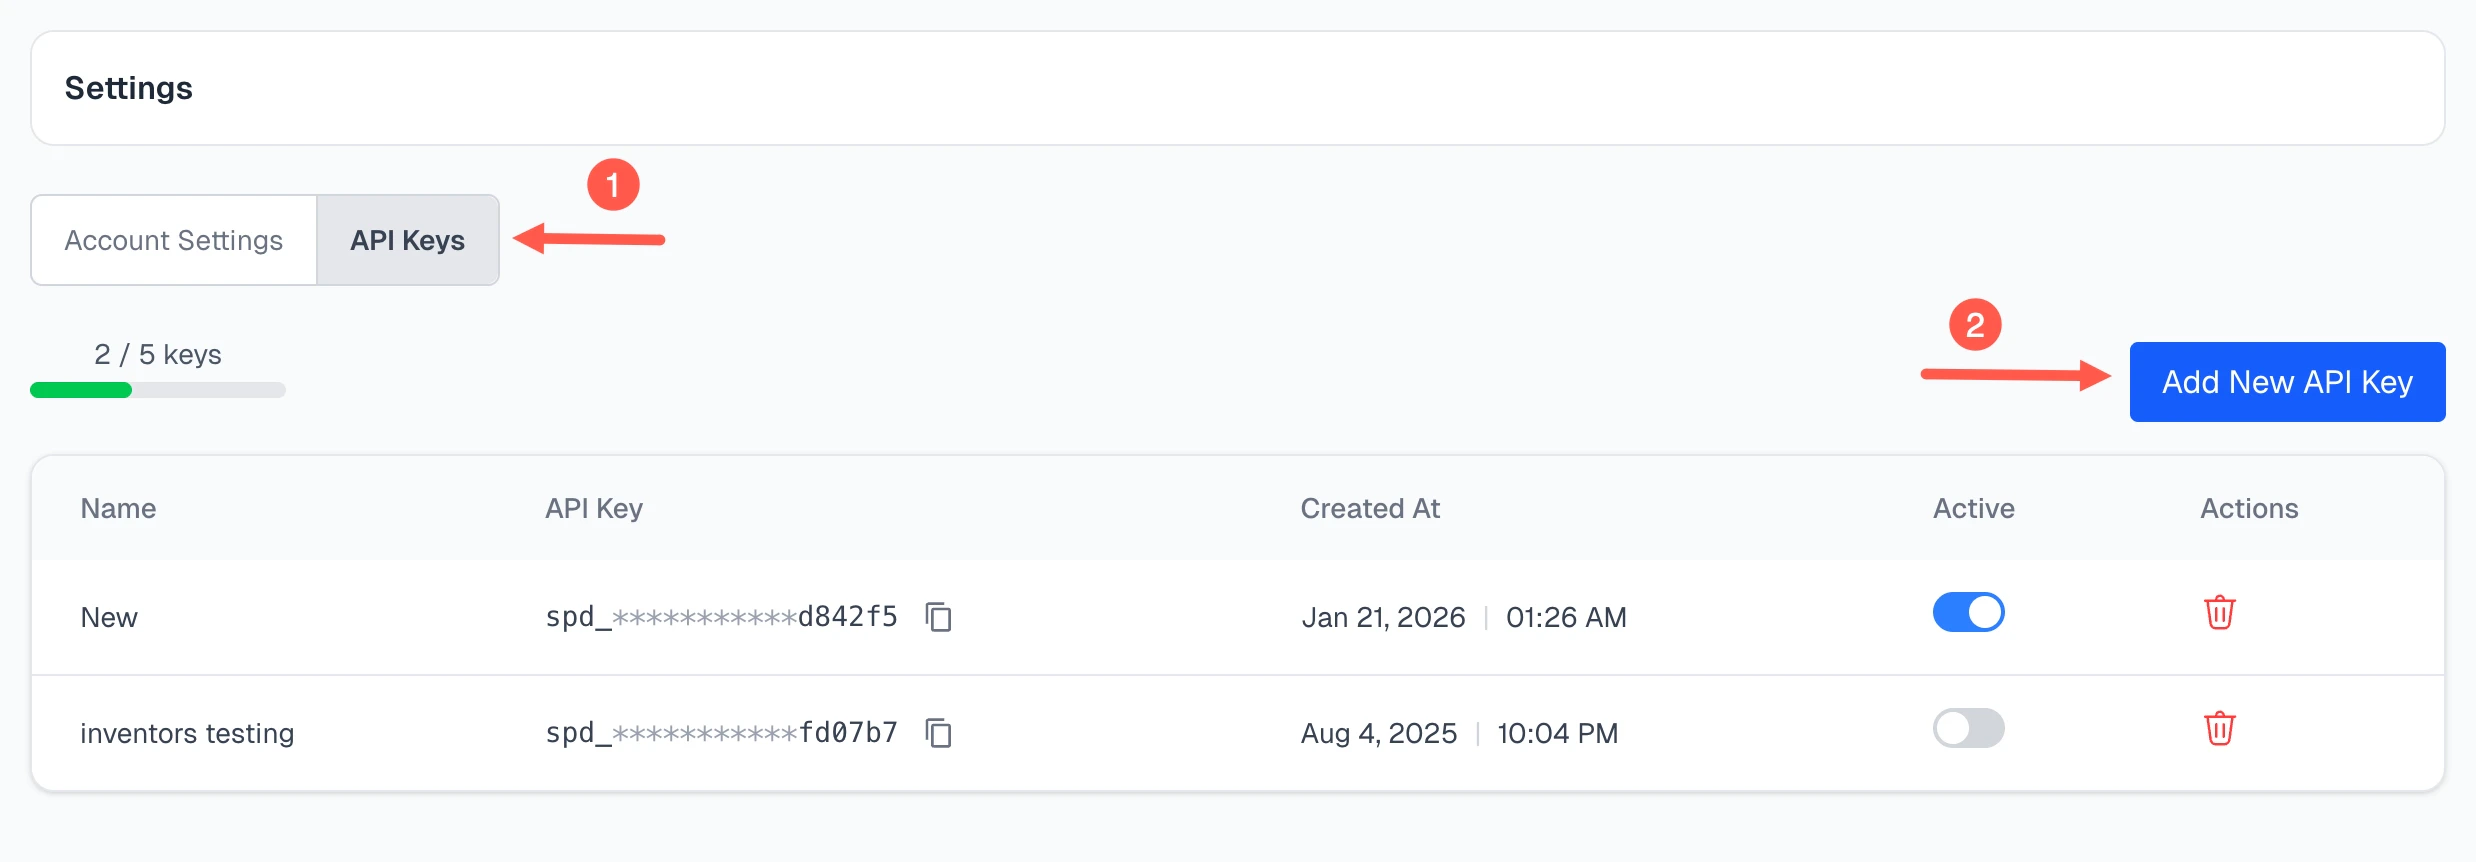
Creating an API Key
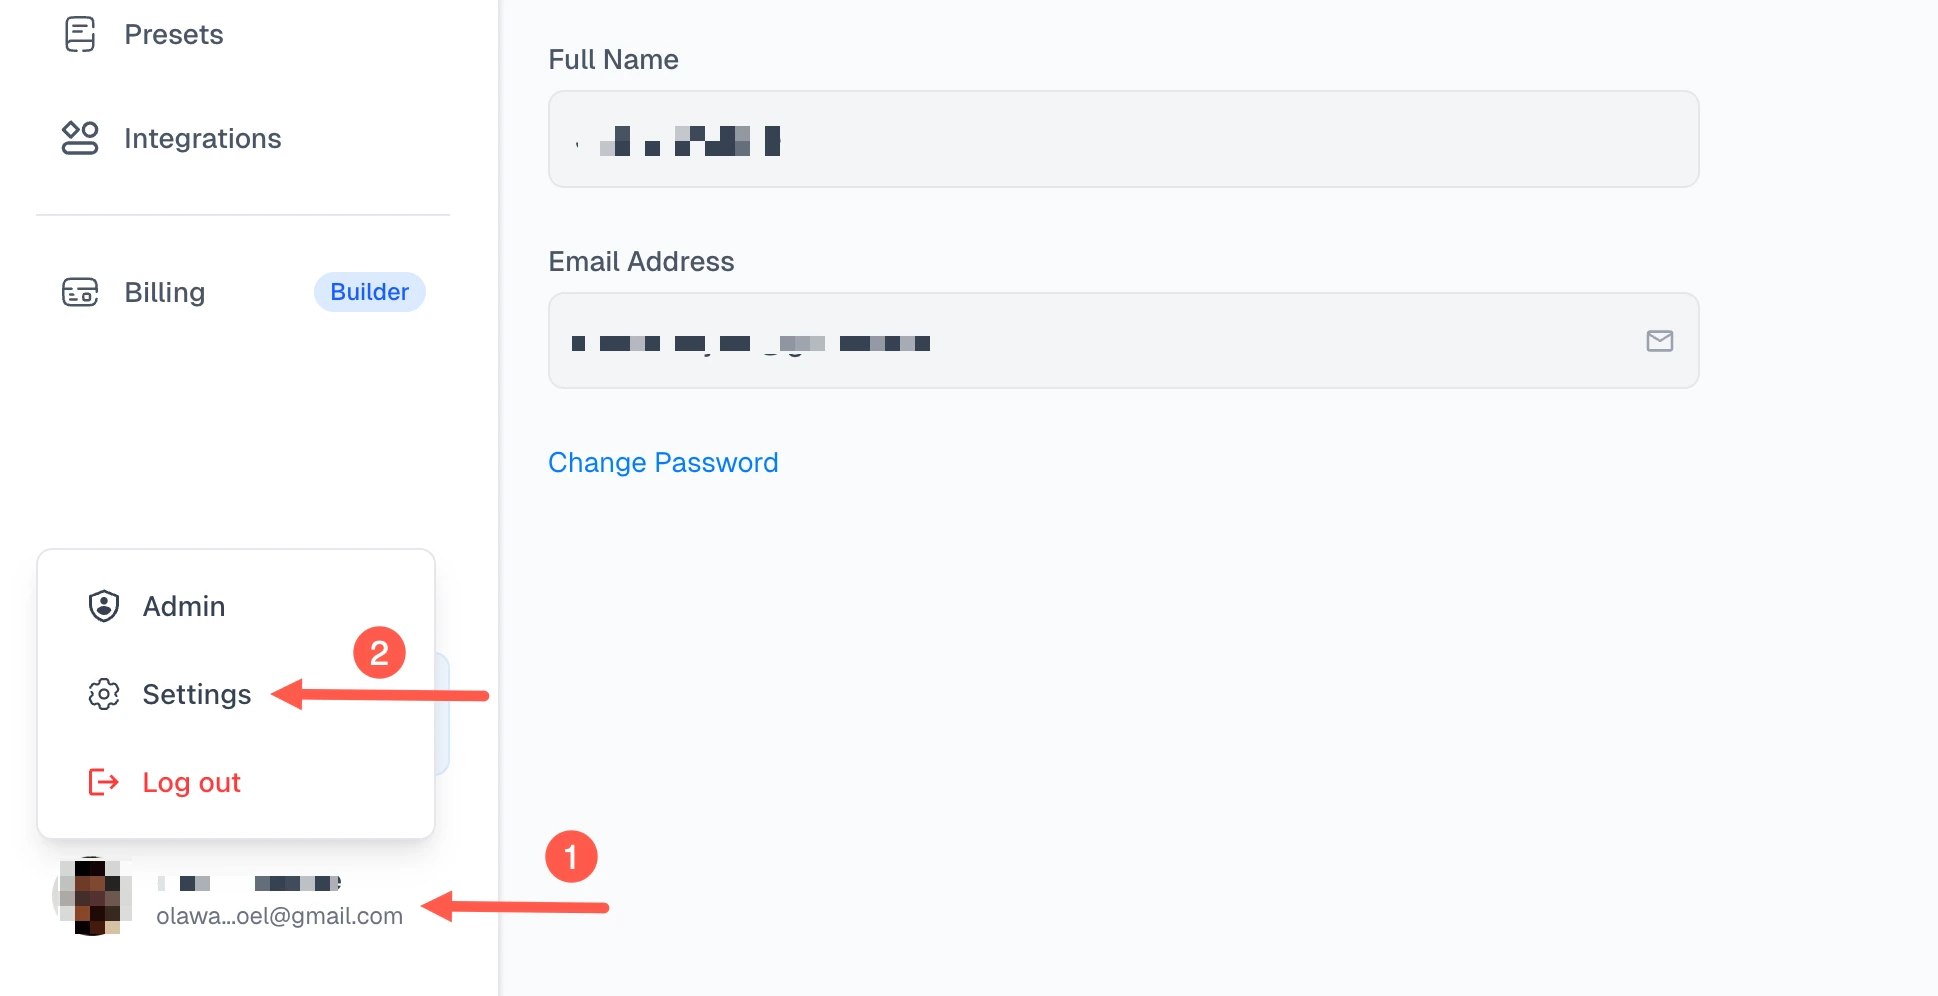
- Go to Settings in your dashboard.
- Click Add New API Key.
- Give the key a name so you can identify it later, for example “Production” or “Local Dev”.
- Click Create API Key.
Using Your API Key
Pass your API key in thex-api-key header with every request:
Managing Your Keys
You can have up to 5 API keys on your account. The Settings page shows a usage bar so you can see how many you have active.Disabling a key
Toggle the Active switch next to any key to disable it without deleting it. Disabled keys are rejected by the API. This is useful if you suspect a key has been exposed but want to keep it around temporarily.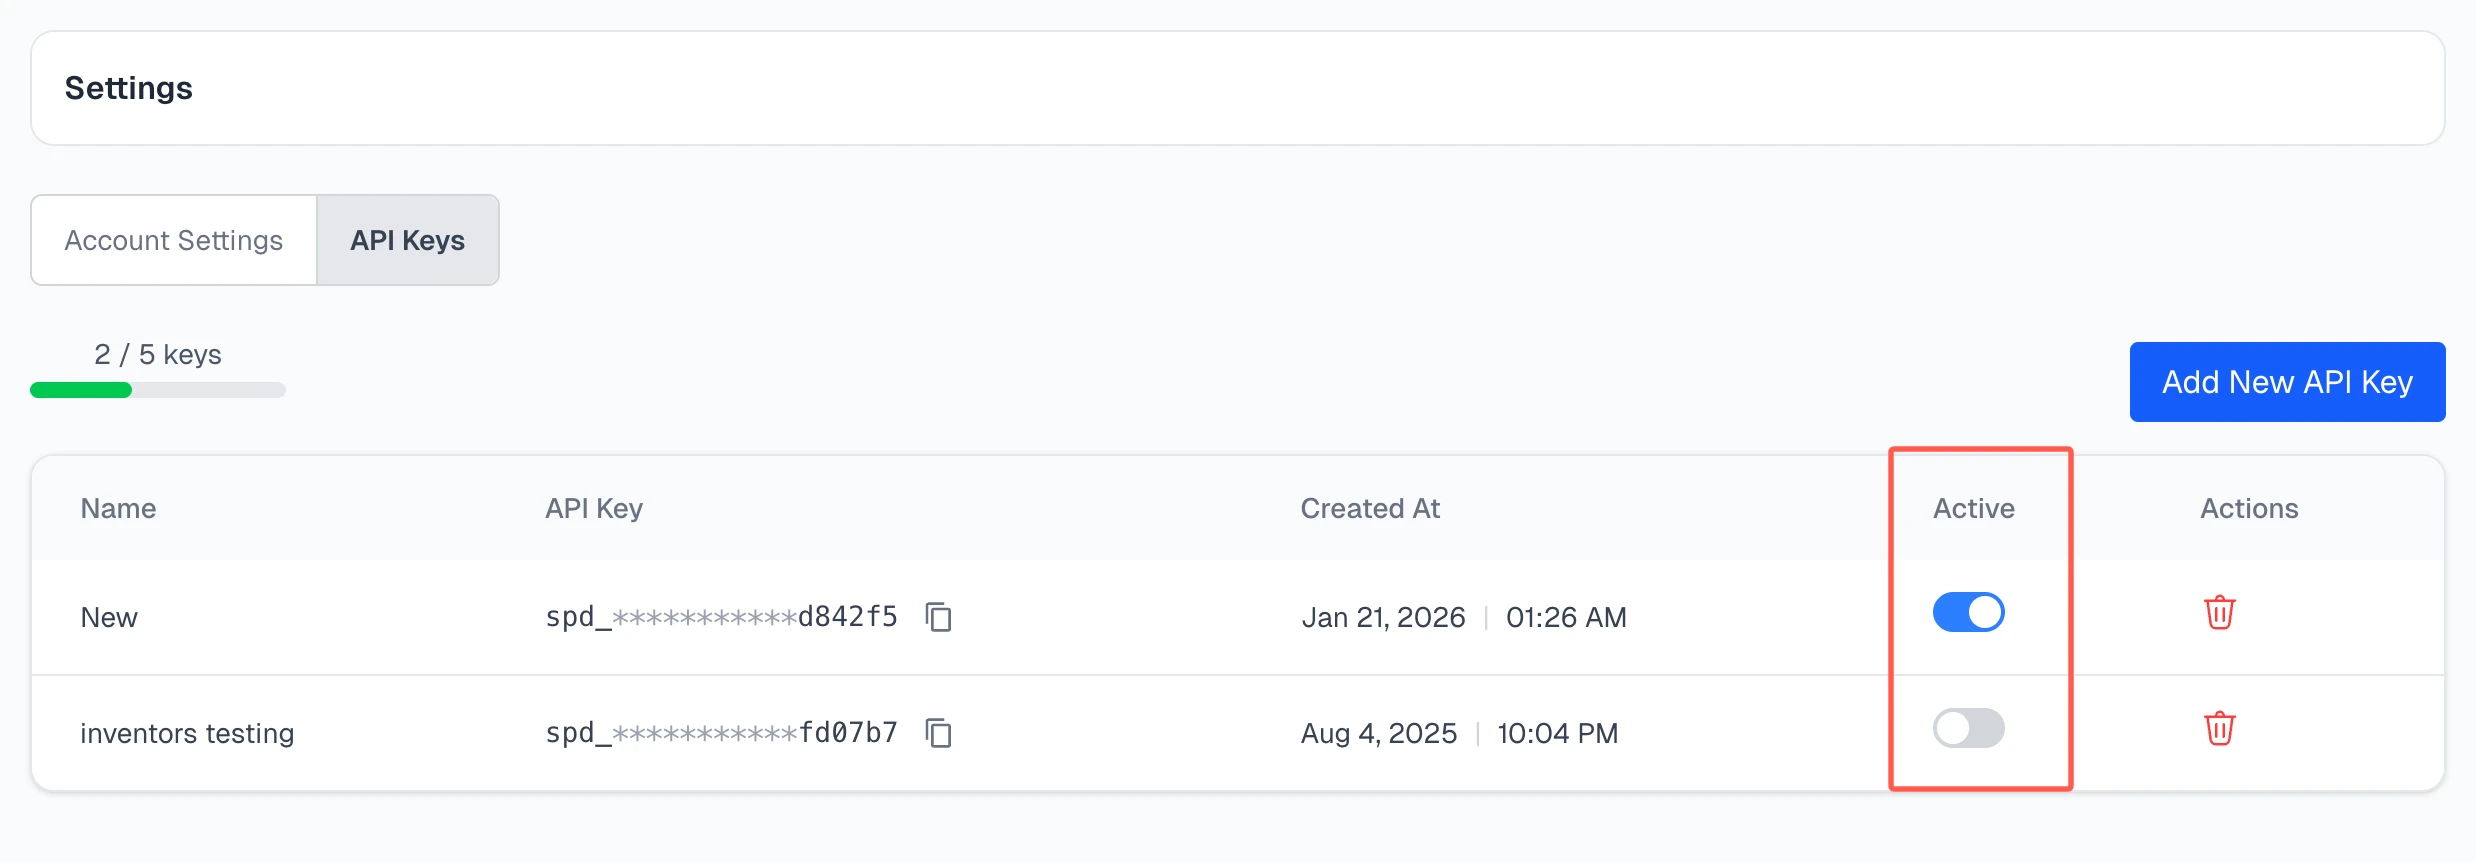
Deleting a key
Click the delete icon next to a key to remove it permanently. Any running integration or application using that key will stop working immediately.You cannot delete your last remaining key. You must always have at least one key on your account.