This guide shows you how to integrate your Spidra preset with Email, so that your scraping results are automatically delivered to one or more inboxes at a scheduled time.
Follow these steps to get started — setup takes just a few minutes.
Step 1: Open the Integrations Tab
Navigate to the Integrations tab on your Spidra dashboard and click the Add Integration button to begin.

Step 2: Select Your Preset and Choose Email
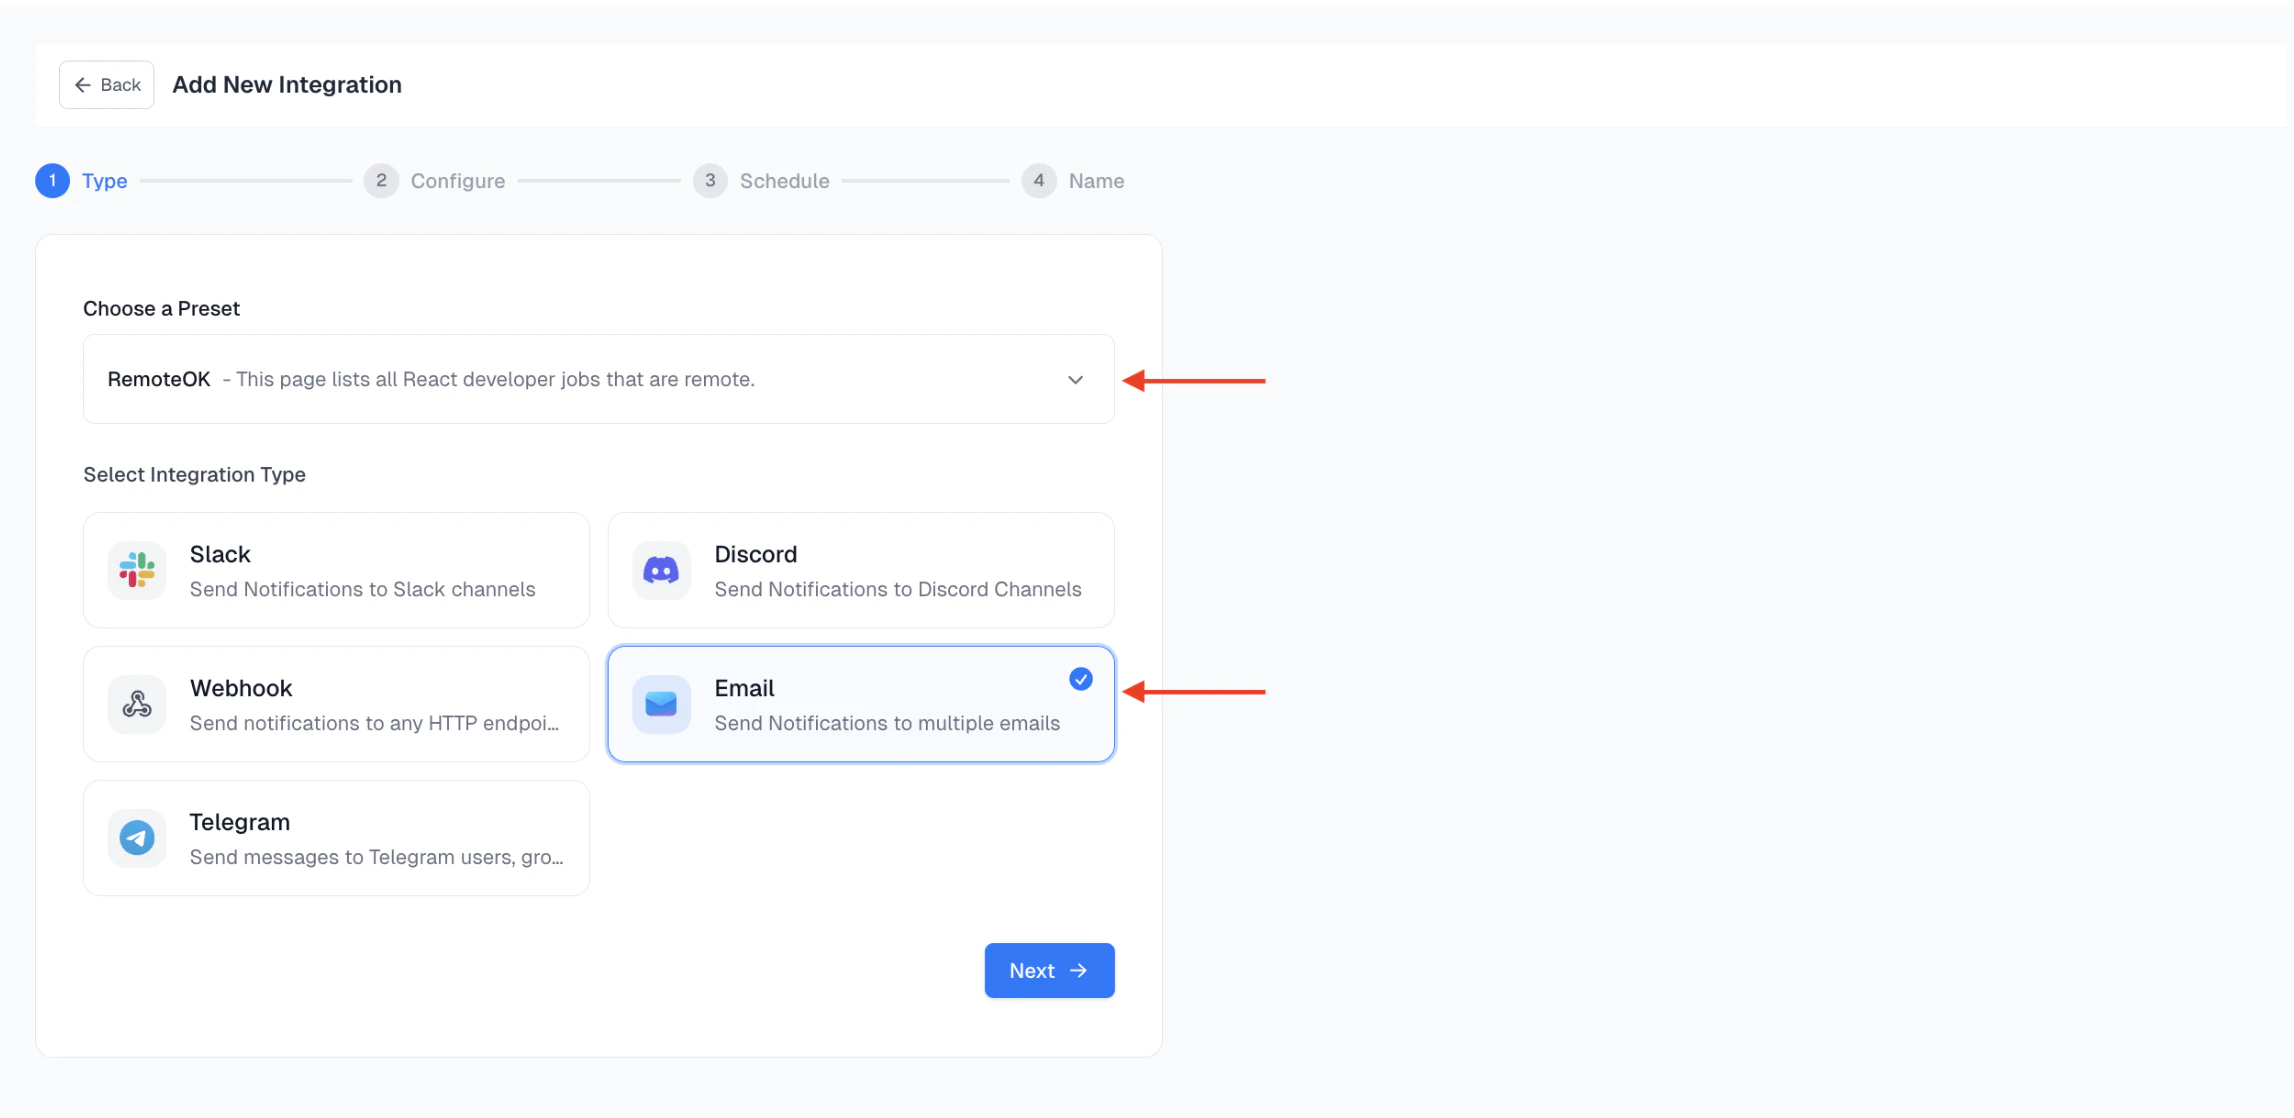
In the Type modal, select the Preset you’d like to use from the dropdown, then proceed to choose Email as your destination.
Click Next to proceed.
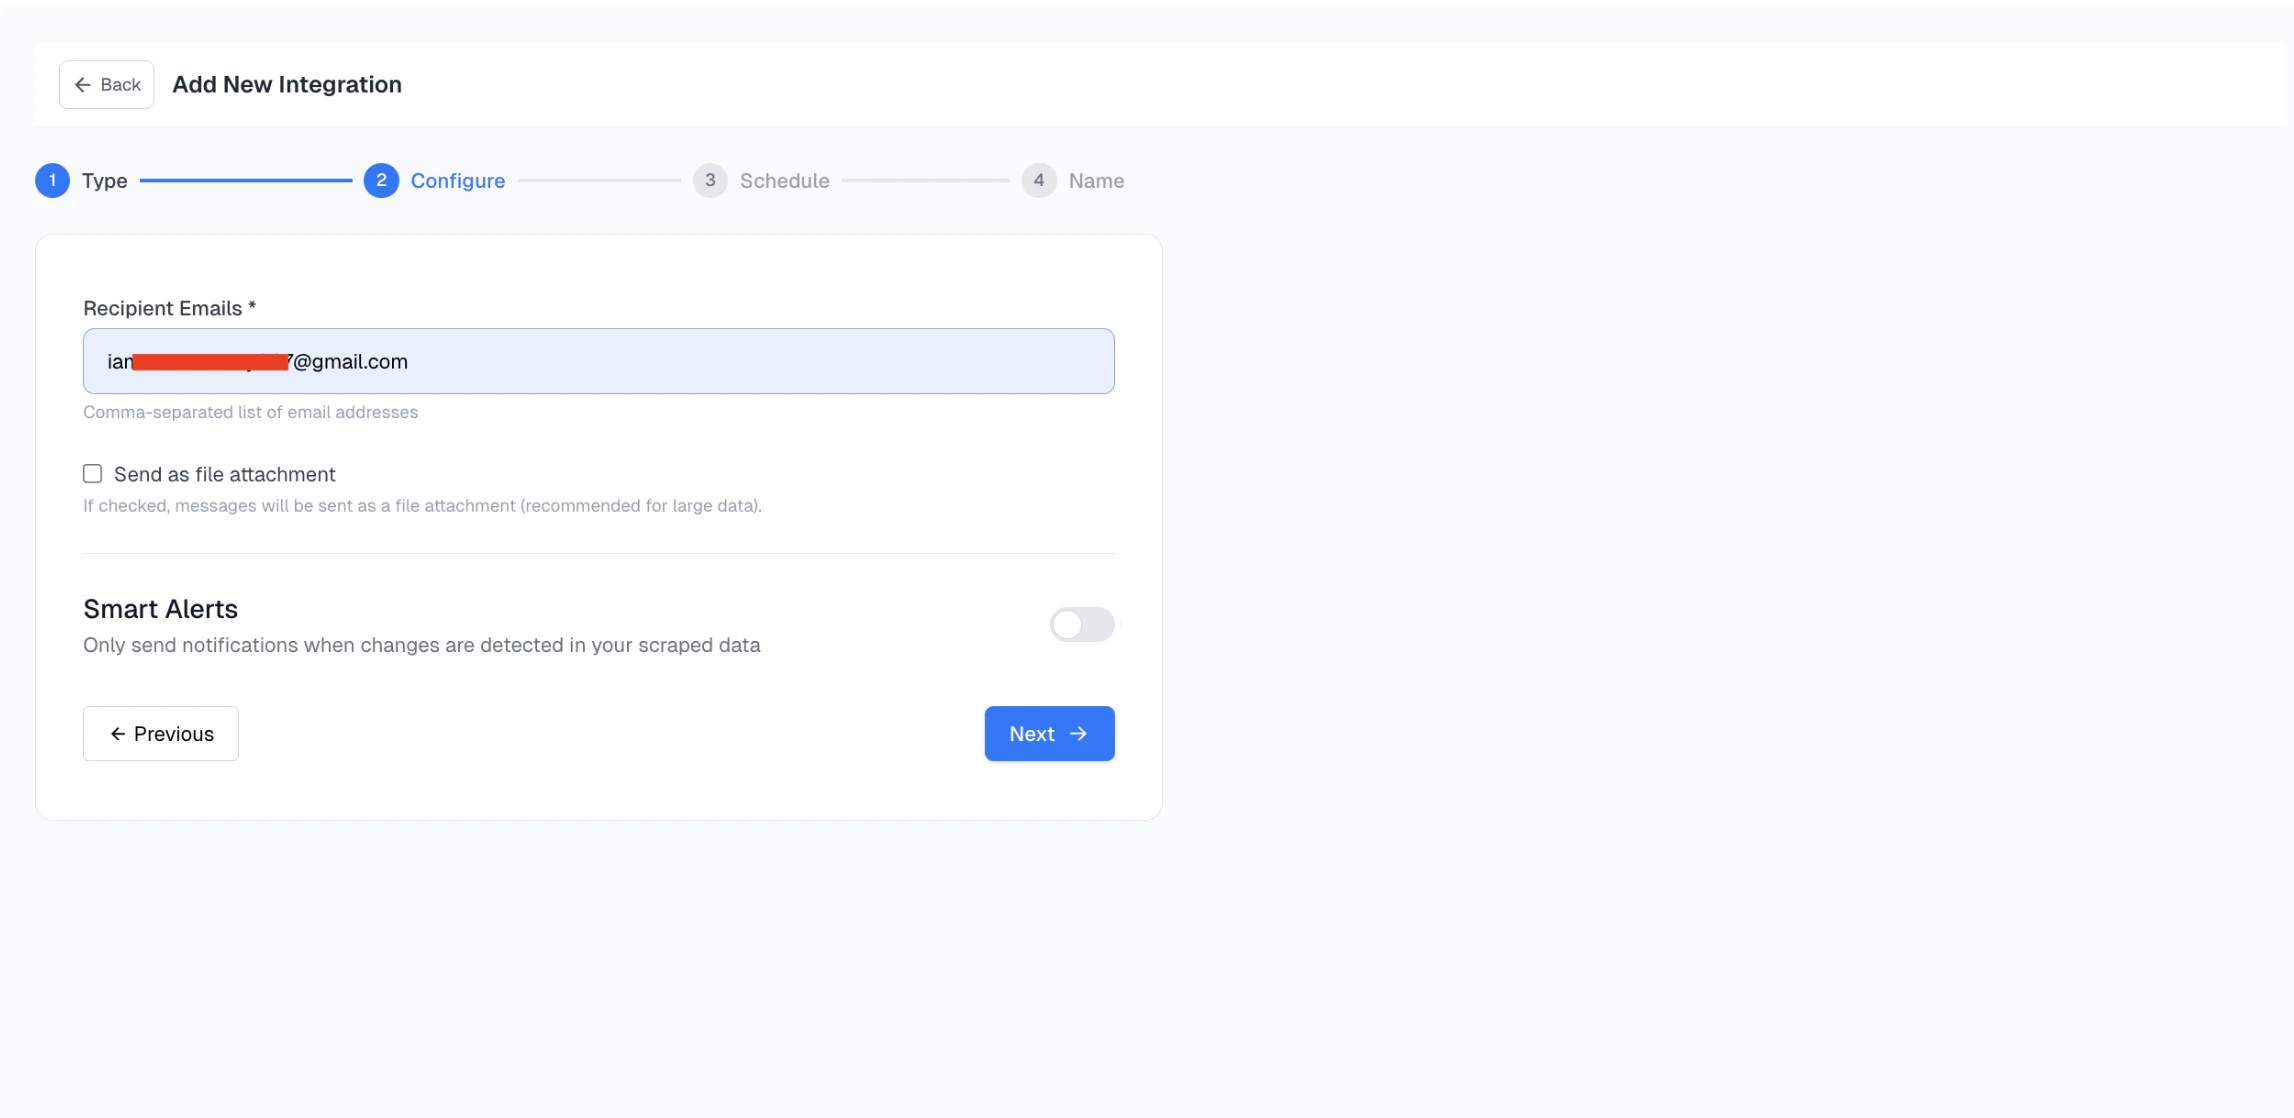
 In the configuration screen:
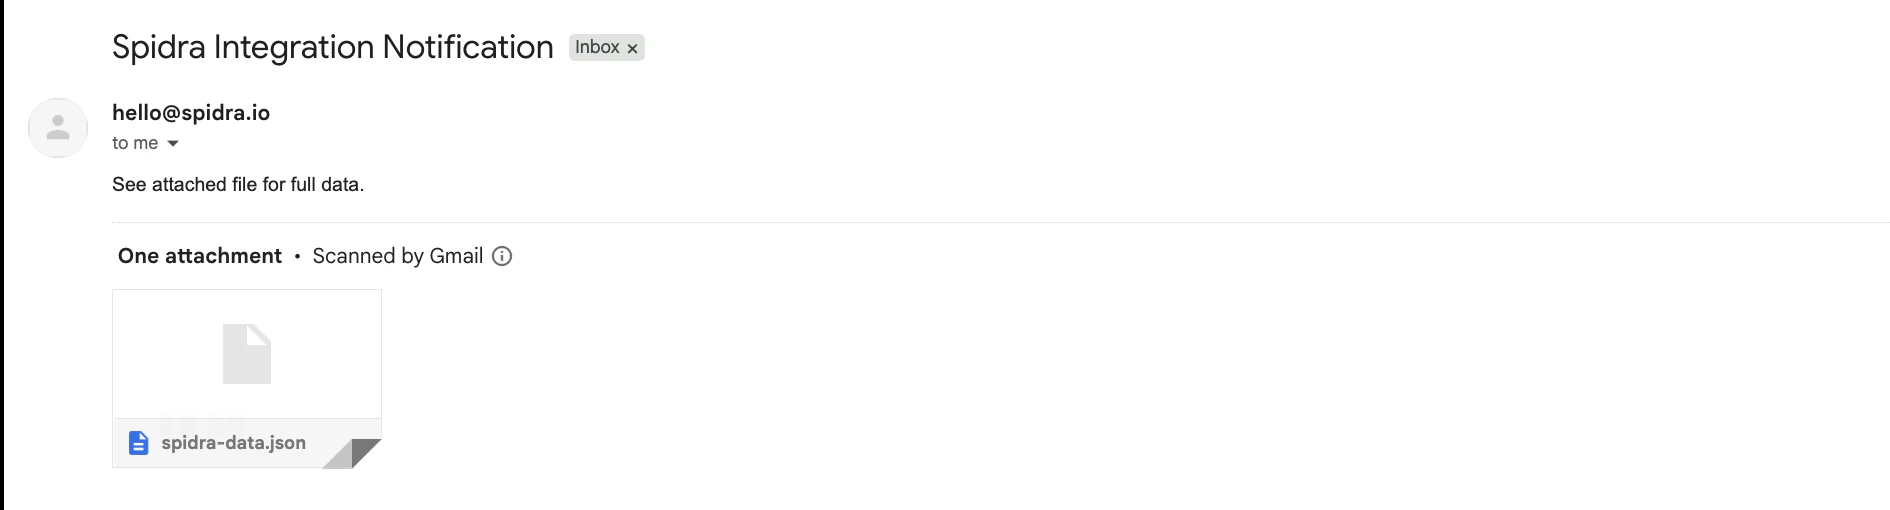
Optionally: check the Send as file attachment box. This is recommended for large data or structured results such as CSV, Markdown, or JSON.
If this option is enabled, the scrape result will be sent as a downloadable file (e.g., .csv, .md). Otherwise, the content will appear inline in the email body.
In the configuration screen:
Optionally: check the Send as file attachment box. This is recommended for large data or structured results such as CSV, Markdown, or JSON.
If this option is enabled, the scrape result will be sent as a downloadable file (e.g., .csv, .md). Otherwise, the content will appear inline in the email body.
Step 4: Schedule the Integration
Set how often the scrape should run: Daily, Weekly, Monthly.
Then, choose the time of day and set the timezone. By default, Spidra uses UTC. If needed, you can use a valid IANA timezone timezone, such as:
- Africa/Lagos
- America/New_York
- Asia/Tokyo
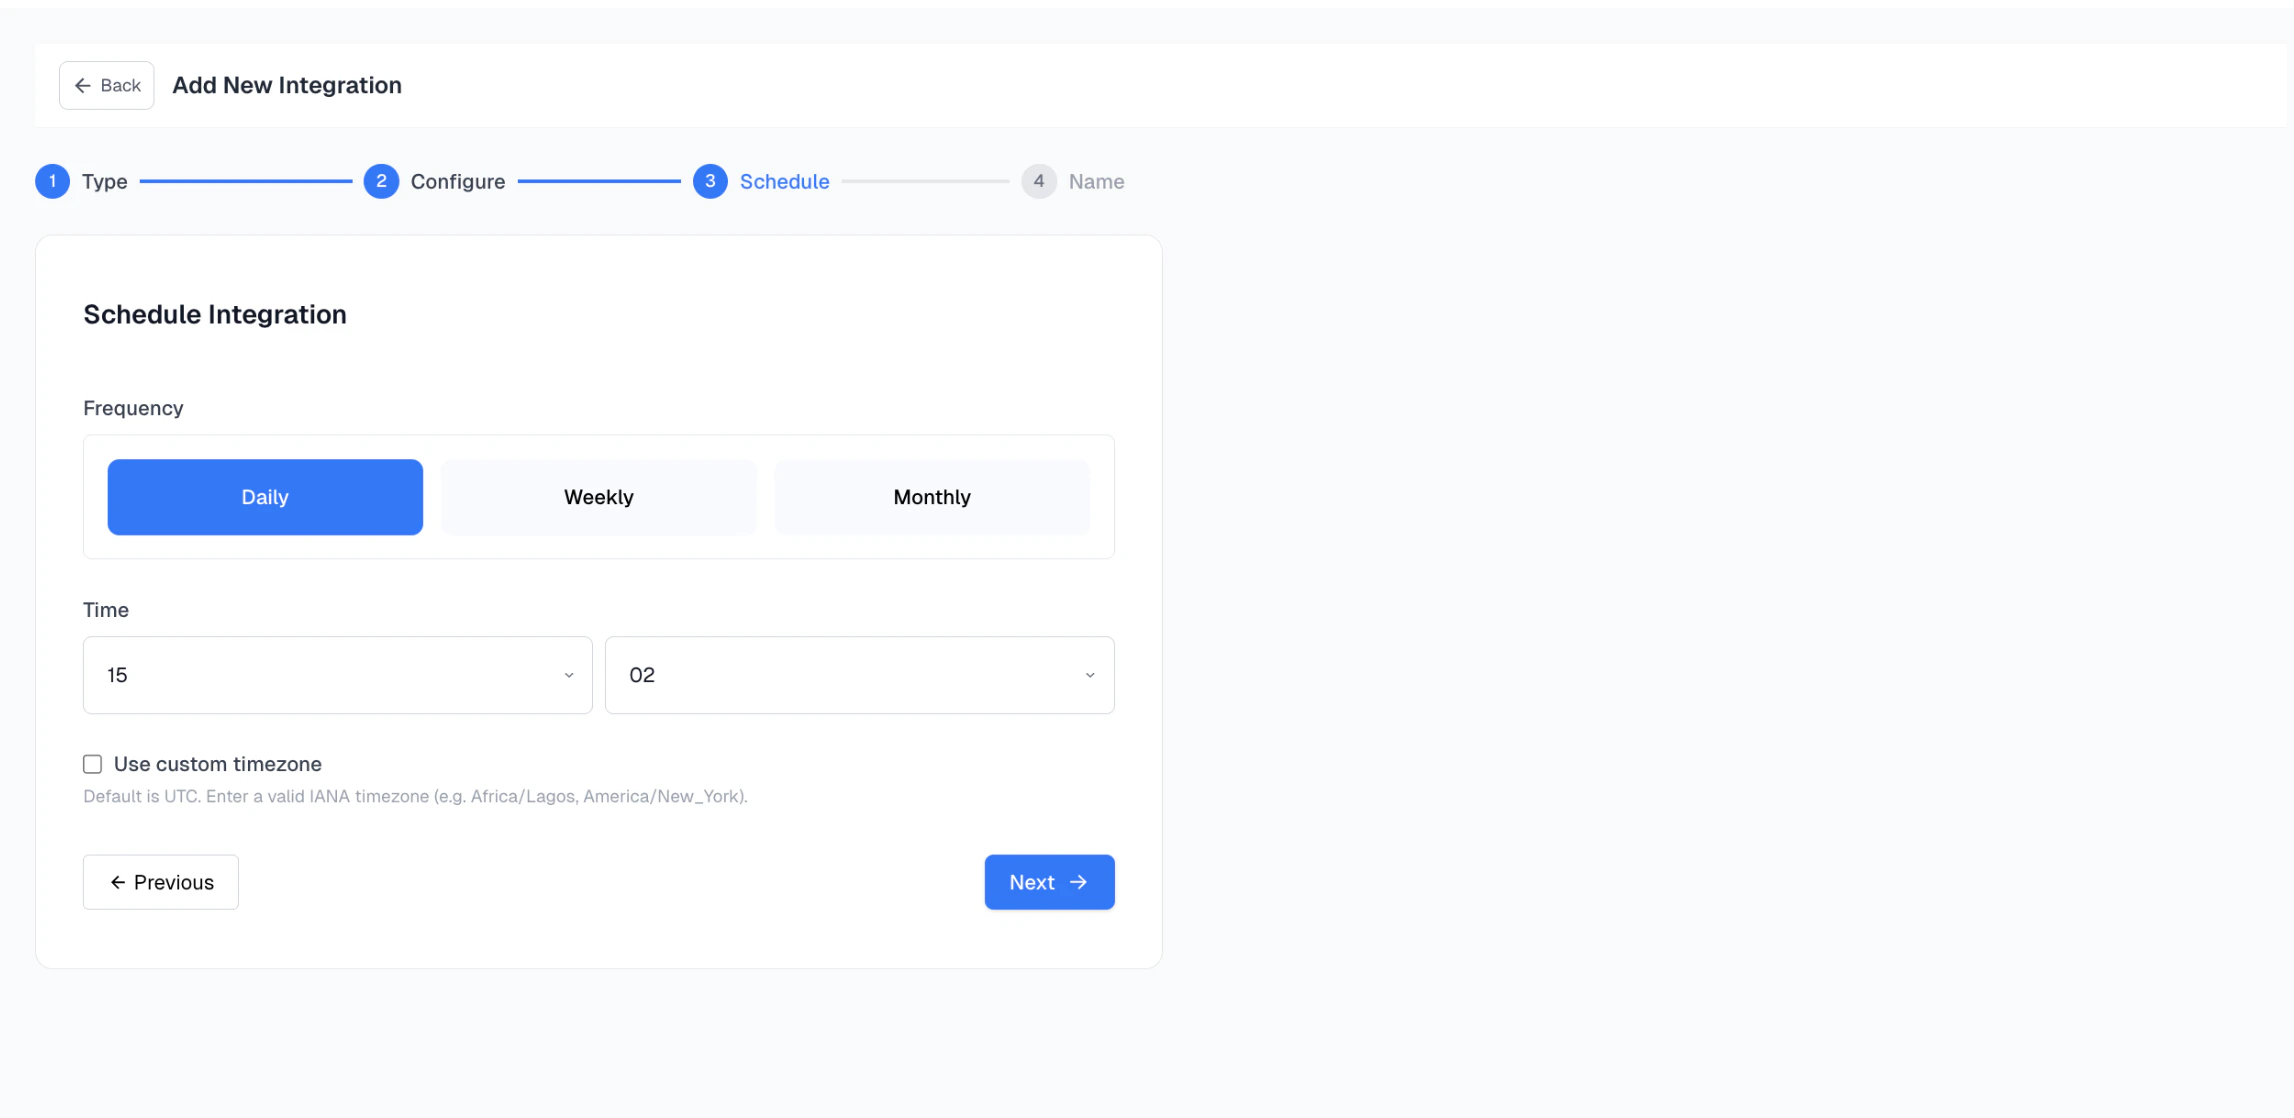 Click Next to continue.
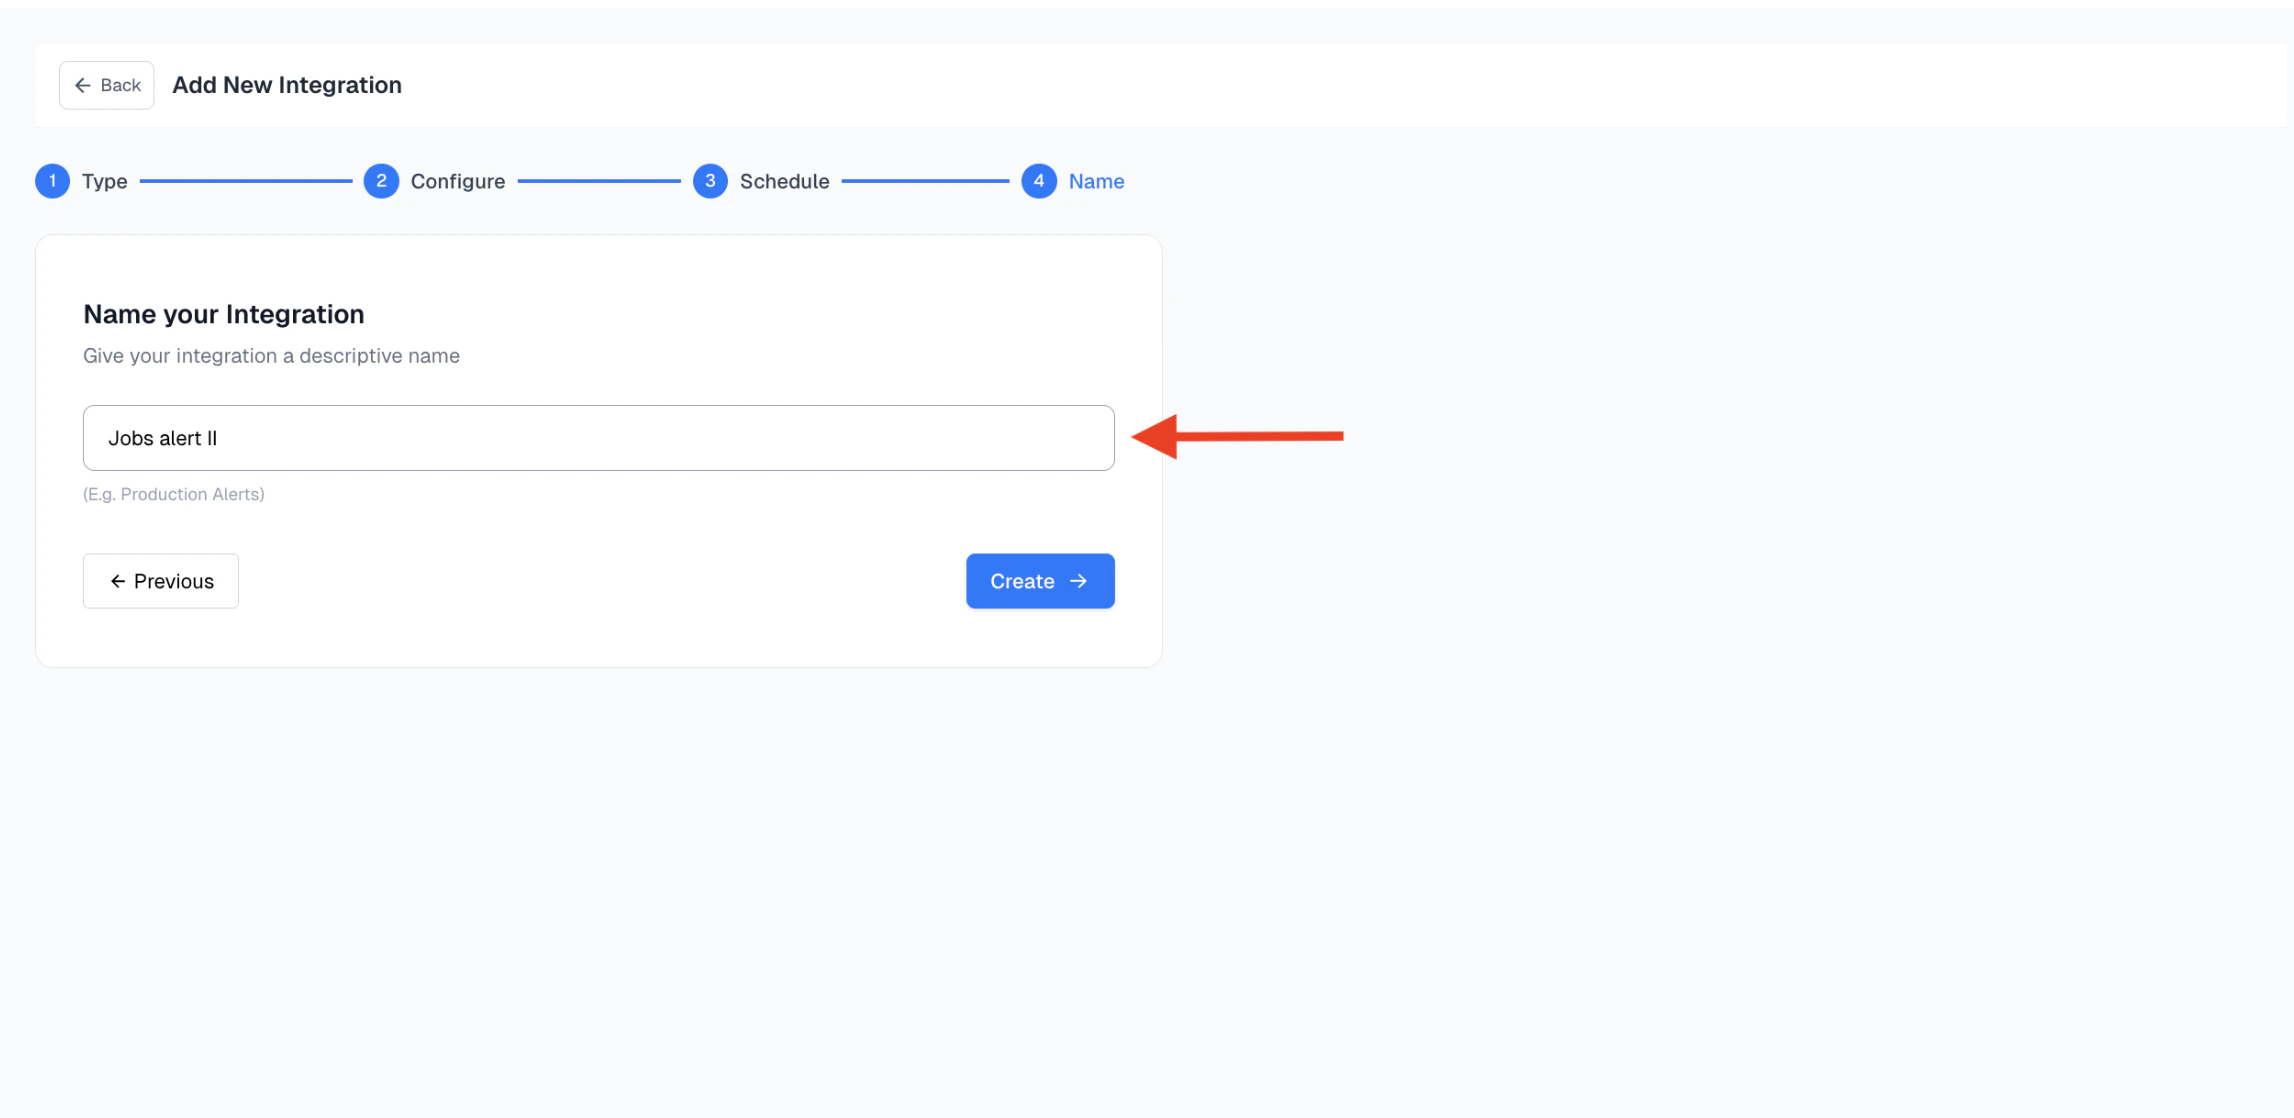
Step 5: Name Your Integration
Give your integration a meaningful name, this helps you track it later. Examples: “Jobs alert II”
Step 6: Check Your Inbox for Results
Once your integration runs at the scheduled time, the output will be delivered to your inbox.
Important: On your first integration, some email services may flag the message as spam. If that happens, simply mark it as “Not Spam” to ensure future results land in your inbox.